City Stroll
By Ian Hollidae, 2024/11/20
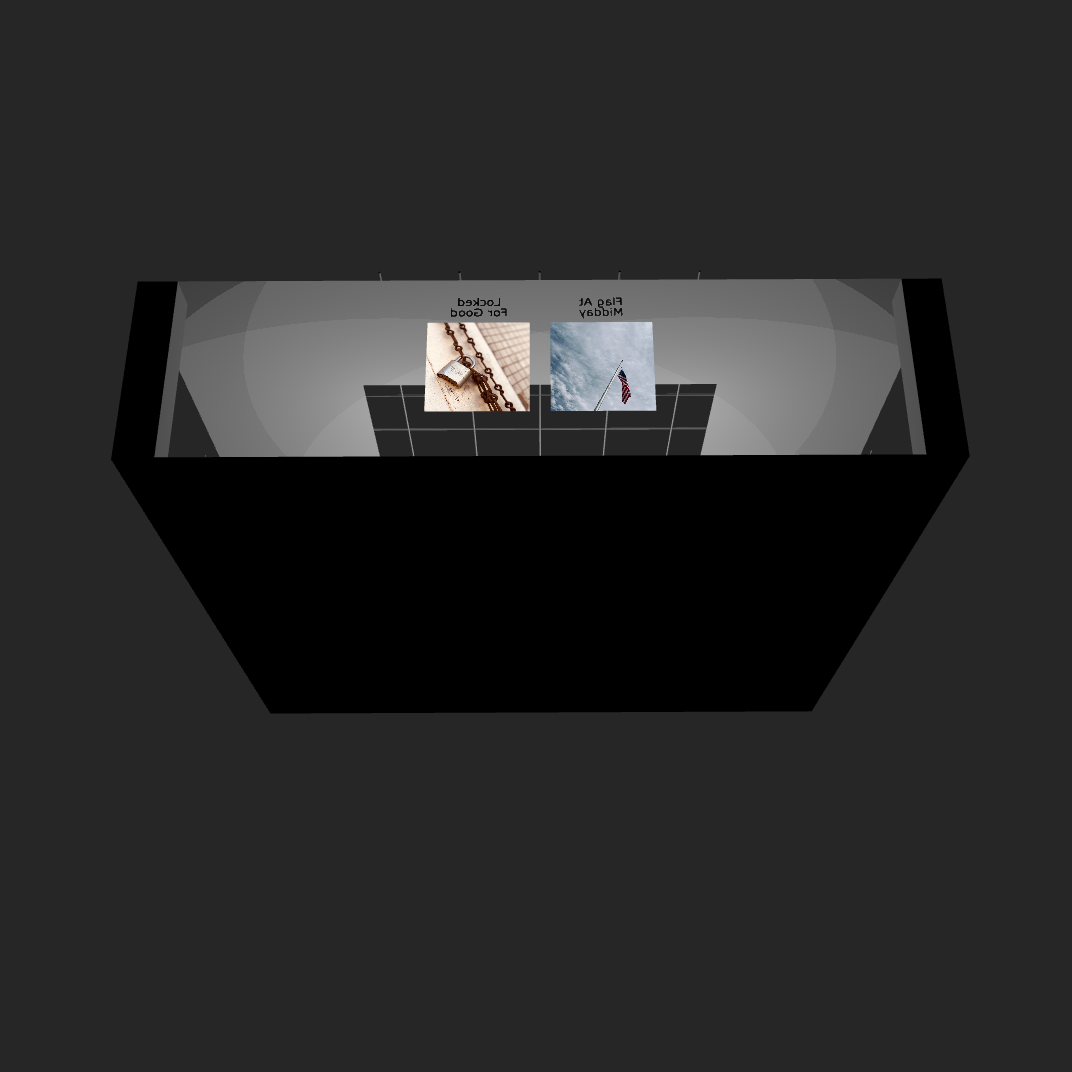
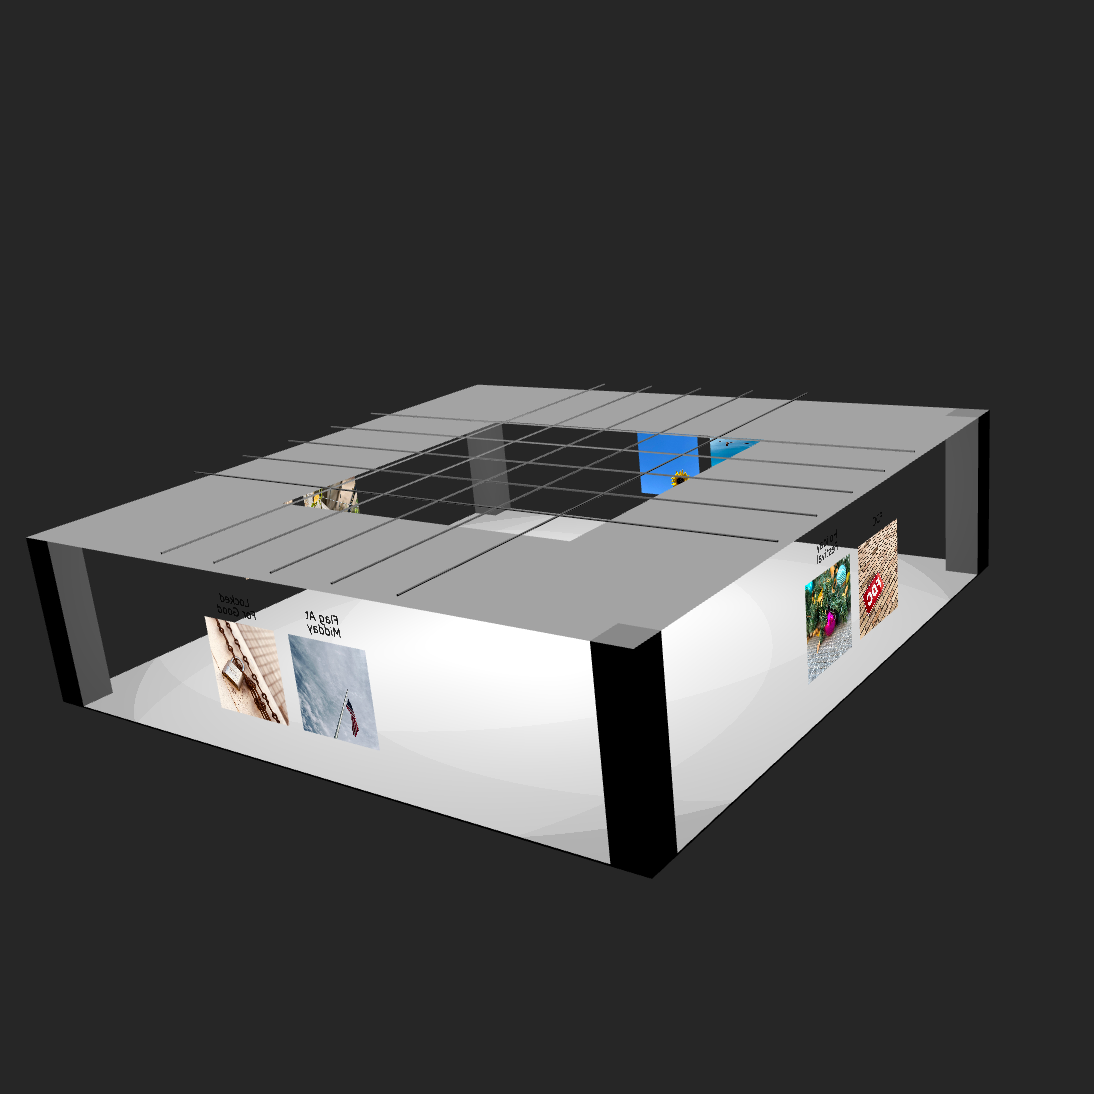
My first 3D outing is a photo gallery with “free style” user navigation. I decided to go with X3D (X3DOM library) because it's a little bit easier to learn than three.js as a 3D beginner. It also appears to be the better option to get up and running quickly.
The biggest thing I've learned from this project is that X3D, and 3D in general, has unlimited structure. What I mean by that is I could make any sort of UX to showcase this photo gallery. So there's plenty of room to reach new heights. There's also plenty of room to bury yourself. Planning and design are hugely important.
As for the thumbnails, I wound up being satisfied with the rendering quality. What viewers can't see is there are lights positioned within the world that can affect how the image is displayed. Positional lights are just above the canopy. The viewer avatar has a headlight that can be turned on or off. For this project, it's off. There's also a global light source and direction.
Obviously, in the future, I'll have to experiment with all the moving parts. But as a first effort, I think it worked out well.
The "City Stroll" Presentation
Tags: Web 3D
Web 3D In Practice
By Ian Hollidae, 2024/11/08
I'm finally getting a chance to try out a few of the 3D technologies I've long been wanting to experiment with. My primary interest is X3D/VRML which is something I remember from the early aughts that held a lot of promise but didn't have much support. The applications were poor, browser support (plug-ins) was almost non-existent, and the overall web landscape just wasn't ready for it. Eventually, it seemed to fade away.
Then there's Three.js which came out after I left the tech industry so I don't know much about its early history. When I made a partial return to tech, and came across it, I added it to my todo list.
The third item is Blender, but to be honest, I never really had much interest in it. I always viewed it as a "professionals" tool for movie-level graphics and animation. Then I found out it supports the X3D file format so I've decided it was worth looking into despite its steep learning curve.
The only question now is how to maximize my efforts.
For now, it appears that X3D/VRML, since it's a markup language, is more suited for web structures such as photo galleries and interactive presentations. Three.js looks far more suited for more realistic 3D worlds. Blender? Still working that part out I guess. While finished projects will posted over on VRIGNETTE, all the notes about the project will be posted here.
Hopefully, I can create some neat stuff because I think the effort is about to get really interesting.
Tags: Web 3D
High Above Us
By Ian Hollidae, 2024/11/01
This was one of those photos that made me think about how to push the limits of an iPhone and how I would translate what I've learned when I eventually switch to a "real" camera.
Originally, I wanted a picture of just the building with clear sky in the background. But positioning and repositioning didn't provide anything of interest so I decided to experiment with compositional balance. At first, I included the moon but eventually I added the contrail as well. The photo stopped being about the building and became more about what we can see over our heads.
In the end, I decided I liked the shot. Sometimes setting aside standard/rigid photographic rules can produce something you're happy with.
This post is a continuation of the Beginners Photography Project.
Tags: Feature Photos
A One Year Assessment Of X3D
By Ian Hollidae, 2024/10/23
In the early 2000's, I ran across my first example of VRML (Virtual Reality Markup Language). It was a panaramic photo someone had stitched together. The image was used as an image texture on a circular wall and the user, sitting in the middle of the circle, could swirl around 360 degrees to view it. The swirling didnt work very well but the idea of VR web comtent was fascinating. I wondered in general about what else could be achieved.
Unfortunately, I never got the time or had the need to dive in further. Eventually, VRML faded away. It didn't seem to really make that much of an impact to begin with. Flash won the plug-in wars and that was about the limit users were willing to put up with in slowing down the browsing experience.
A Second Beginning
Fast forward to 2020, and just by chance, I stumbled upon VRML's successor, X3D. It was a complete surprise the effort was still around. Out of curiosity, I began browsing through the documentation. Just as before, I began asking who would be interested in using VR on the web in the age of walled-off social media. However, as I kept reading, the one thing that stood out was that a plug-in was no longer a needed. It was all pure XML and Javascript.
My own personal interest was rekindled.
Fortunately, I was able to find the time to truly get into X3D. I spent several weeks making small demos in order to get a handle on things.
During my exploratory process, I discovered existing X3D examples and while most were good for visual demonstrations, they weren't very useful. After some time, it became clear my main goal for using X3D was for interactive webapps. Some of the possibilities of interest include:
- 3D photo presentation (Example)
- 3D photo galleries
- VR product showcase picture (Example)
- Simple games
- Virtual space demonstrations
I'm sure there are plenty more uses than the ones I listed. It seems the only limit is your own imagination. Of course, items such as performance comes into play. The larger your application is, the more you need to download, constraints have to be applied. You get the picture.
So now that I've been using X3D for a year, I thought it would be a good post to share a brief assessment. This is in no way a comprehensive review. Just some thoughts about what has stood out the most.
X3D As A Markup Language
The XML-based script integrates well with HTML along the lines of SVG. In fact, there are some rough parallels between the two.
The grouping of objects, transforms and object reuse are a large part of both markups. The X3D 2D component, the ability to draw 2D objects in a 3D world, is basically an SVG equivalent.
The ability to create custom shapes in X3D using prototyping goes well beyond the SVG <PATH> tag. But even if you don't want to go that far, there are several path-like constructs that get the job done on the customization front.
For simple embedded displays, no javascript or complex animation, getting up and running is no more difficult than standard web development.
X3D Libraries
What you get out of X3D is largely dependent on the library you use. The two libraries I know of are X3DOM and X_ITE. Both have somewhat different approaches to providing X3D functionality.
X_ITE is a full blown player and framework. It's programmable and configurable. It also seems to be a more complete implementation of the two.
X3DOM, on the other hand, is closer to a straightforward library for web use. Fewer moving parts and not much different from other standard javascript libraries in usage.
Each library has plenty of benefits and I use them both.
X3D Tools
A generic text editor will do the job for basic and moderate tasks. For now, this is what I do. But for more advanced content, dedicated software is needed. It seems there are two choices: Sunrize and Blender.
I currently don't know much about Sunrize (I wanted to focus my learning on direct coding efforts) but Blender has long been considered a beast. And Blender isn't specifically an X3D tool. It just exports content to the X3D format.
Will tools be a problem for X3D down the line? Given the size of X3D, compared to HTML and SVG, it's possible. And the more complex the construct, the more cumbersome X3D can become without dedicated tools. Where those tools will come from is anyones guess.
The Past Is The Present?
As I said before, my main use for X3D is embedded web apps. In a lot of ways, this sorts of mirrors the old days of Flash and Java applets. However, there doesn't seem to be the huge performance issues Flash and applets suffered from. At least for small things.
One other difference from the past is that X3D implementations are all javascript based and X3D is an open standard. Anyone can provide an implementation and that means there is fair chance that X3D development won't get bogged down by corporate concerns.
Conclusions To This Point
I think X3D has a lot of potential to offer content creators and developers. Will X3D get broader adoption? Like any other technology, it's hard to say. I think it really is a matter of finding appropriate uses.
Obviously, one person may or may not make a difference but for my part, trying to output regular content is one way to help spur adoption. Besides my basic tutorial, I created a portfolio page to show what can be done. Who knows how things will unfold. Maybe a year from now, I'll write a two year assessment of X3D where everything has changed.
Tags: Web 3D
Monday!
By Ian Hollidae, 2024/10/10
A photo taken while strolling around a local business district. At first, I wanted to focus just on the reflection. Including the clouds seemed unnecessary. However, a few minutes later, the clouds became a lot more interesting.
This post is a continuation of the Beginners Photography Project.
Tags: Feature Photos
Chronicling A Beginners Photography Project
By Ian Hollidae, 2024/09/30
A couple of years ago, I got a notice that AT&T was upgrading their network. no big deal. Upgrades happen. However, the upgrade would require me to get a new phone. Up until then, I hadn't really jumped into the higher end smart phone market. There simple wasn't a need. But I decided to conduct a due diligence and realized iphone had done a lot to improve their camera capabilities. Some were saying the iphone camera was approaching DSLR level performance. Not sure I bought into that at the time, but it's quite a statement.
So why is any of this significant?
For a long while, I had wanted to give photography a second try but I didn't want to spend a ton of money on equipment only to have my interest fade. Since I needed to buy the phone, I saw an opportunity to start a photography project that I had sketched out. I set up a few ground rules so the project wouldn't just drift aimlessly. The main framework of this project revolved around the following guidelines below.
Use only an iPhone
This would be my "primary" camera. Nothing fancy. No lenses, no equipment bags, no tripods. Nothing. My effort at "good" photography would be limited to whatever iPhone could capture.
Take photos in mundane areas
Since I didn't have the time to travel around to the interesting locations you see on photo sharing sites, and only had an iPhone anyway, I decided to keep it simple. The idea was to capture photos from places that weren't photogenic (office parks, playgrounds, walk along the street, etc). If everyone (photographers) ignored the place, that's where I would go. And if I could get decent shots under this condition, I could probably get them anywhere.
Shoot regardless of light or weather
Countless Youtube tutorials will tell you to shoot only in good light. Occasionally, there are tutorials about shooting in less than ideal situations but they seem to be an exception. The goal here is to just deal with whatever light is available.
Basic editing only
This is about keeping it simple. Apple photos, ocassionally GIMP. It also means i would have to focus even more on composition upfront as opposed to rescuing the shot in post-production.
Do this for six months or more
Since I would have this phone for a while (I tend to hang on to phones), it gave me plenty of time to practice and learn.
Once I worked out the guidelines, it was simply a matter of finding the time. Initially, I set aside two total hours a week. Then I started getting in shots time permitting. I started this project in spring of 2022 and ended it summer of 2023. Unofficially, I'd say it's still going on. And while I've yet to commit to buying a "real" camera, it seems pretty inevitable at this point.
So Now What?
I think the next phase of my photography project, beyond sharing the photos, is to share the learning experience. For whatever reason, there aren't a lot of outlets simply for photography discussions. I can't be the only one learning and wanting to hear other peoples learning experiences. I do have a social media account but another one of my other projects is to start moving away from it in favor of a dedicated website.
Hopefully, my future posts about this project is helpful to someone.
Tags: Photography
WebGL Tools Continue Forward
By Ian Hollidae, 2024/09/09
In the last couple days, my newsreader has come across several interesting new tools that I hadn't previously heard of. Both apparently rely primarily on direct WebGL for rendering.
The first is Repaint, a website builder positioning itself as an easier Figma:
It's becoming standard to design websites in a design tool, then rebuild it in a website builder. That means duplicate work, learning two tools, design-to-code translation... it's a pain. But existing website builders are miles behind the UX of Figma, and Figma can't make real websites. If it was all in one tool, it would be SO much easier. That's the concept behind Repaint. It's a design tool for real code
Repaint also acts as a host for your site providing a free and paid hosting plan.
Next is Cables which builds interactive content that can be embedded into your website:
With an easy to navigate interface and real time visuals, [Cables] allows for rapid prototyping and fast adjustments. You are provided with a set of operators, such as mathematical functions, shapes, materials and post processing effects. Connect these to each other with virtual cables to create the experience you have in mind. Easily export your piece of work at any time. Embed it into your website or use it for any kind of creative installation.
Cables is a no-code approach to interactivity that uses Operations (configurable task blocks) and cables that allow you to connect and control application flow.
As someone who does code interactive apps (X3D, SVG, HTML Canvas), there are clearly some upsides to this approach. For simple items, especially in X3D and WebGL, coding can become cumbersome. However, in more complex items, coding becomes a necessity. The question is where the cross-over point is.
In any case, I hope to find some time in the near future to thoroughly try out both developments.
Tags: Graphics
Shooting For Textures
By Ian Hollidae, 2024/07/08
When I began looking into X3D, one of my early questions was how to go about texturing shapes. Was there some resource site where i could download textures? Did i need to figure out how to create texture using graphics software? In short, what were the rules.
After searching around, it seems the answer to my questions was there was no one way to approach it. So I decided I would start out using real life photos. In an age where every phone seemingly has a camera, we are surrounded by textures from the time we wake up until the time we go to sleep.
Texturing Project
Since I have my camera with me most of the day, I figured there would be opportunities to capture textures. But I didn't want to just randomly shoot anything, so I tried to work a few basic rules:
First, if I knew I'd be somewhere inside, walls, floors and uncovered surfaces would be the targets.
Secondly, if I knew I'd be walking along outside, I tried to find things of interest.
Thirdly, no shallow depth-of-field/bokeh for anything.
Early on, it was hit or miss. I found plenty items I thought would make a great texture for a particular shape only for things not work out. Other times I would find textures I thought would be good for something later on, only to have later on not arrive.
Fortunately, I did have a nice list of successes.
Lessons Learned
Despite my efforts to plot a path forward, trial and error is sometimes the best teacher. So here are few things I learned from my project:
1. Have a lighting plan
Formal photography rules will tell you that you should work in good light in order to get the best photos. No harsh contrast, shoot at the golden hour, the list goes on.
The problem with this approach is that textures are not photography. Textures are whatever you make them in order to fit into whatever you're making. That doesn't mean light plays no part in textures. Just that light might play a different part than normal.
If you plan to capture a certain type of light, understand how it will look and interact with X3D lighting models. A reflective surface with a large specular highlight might wash out as a texture when placed under a spotlight.
2. Capture the texture in its most edit-able form
Make sure that what you capture can be edited later. For example, if you shoot a metal surface, be sure you don't capture a reflection as well. Sometimes reflections may be hard to pick up through the EVF. They're pretty easy pick up in a photo editor.
3. Don't be afraid to break habits.
Standard photography has been an on-again, off-again hobby for the past couple of years. I also create my own logos and icons as necessary. During that time, I've developed my own process for editing for both forms of images. When starting this project, I knew I'd do a lot of editing since textures would rarely be used as shot. However, I assumed I'd be drawing from my photographic editing skills.
That might or might not be the best way forward.
A case in point was my attempt to capture a smooth cement wall. The wall had slightly different tones of gray. Parts of the wall also had small crack lines. No single shot was working out as I wanted, however, so I decided to merge multiple images as layers just to see what would happen. What I wound up making was a cement texture I couldn't get simply by editing a single image. Even though I liked the end result, I never did use the texture. But I learned a good lesson from the experience.
Task Complete
The path to creating textures has an endless number of possibilities. It's been one of the more pleasant surprises in my X3D journey. Whatever you decide to do, hopefully, you have a few more tips to help you along.
Tags: Textures